
Whether you’re commuting to work, grocery shopping, or embarking on weekend adventures, adding a rear rack transforms your eBike or bicycle into a versatile cargo carrier. In 2025, as sustainable commuting becomes mainstream, the humble rear rack has evolved — offering advanced materials, quick-release systems, and aerodynamic designs.
Installing a rear rack isn’t just about carrying bags — it’s about enhancing balance, safety, and freedom. Riders can haul laptops, groceries, or camping gear without breaking a sweat. For urban commuters, this simple upgrade can turn a standard eBike into a daily workhorse.
Why Add a Rear Rack?
A rear rack is one of the highest-utility upgrades you can make. It:
-
Frees you from backpacks and sore shoulders.
-
Improves load balance compared with front-only solutions.
-
Lets you carry heavier or bulkier items safely (groceries, panniers, tote bags).
-
Expands bike function — commuting, shopping, or even short touring become realistic.
Most riders notice an immediate quality-of-life improvement: rides feel less stressful and more practical. If you commute or run errands by bike, this is a “game-changer” upgrade you’ll use weekly.
Types of Rear Racks
Understanding rack types simplifies the decision:
-
Platform racks (full top platform): Good for panniers, boxes, and big cargo. They usually accept trunk bags and have more tie-down points.
-
Trunk racks / minimalist racks: Slim, lightweight, best for small loads or attaching a trunk bag.
-
Basket-integrated racks: Great for odd-shaped loads, groceries, or deliveries — easy to drop items in and out.
-
Touring / heavy-duty racks: Built for long trips and high loads; they often have more struts and higher weight ratings.
-
E-bike-specific racks: Reinforced for higher torque and sometimes designed to avoid battery interference.
Pick platform racks for cargo versatility, baskets for convenience, and heavy-duty racks for long-distance or heavy loads.

How to Choose the Right Rear Rack
Don’t buy on looks alone. Follow these steps.
-
Check frame mounts: Do you have eyelets at the rear dropouts and near the seat stays? If so, most racks will bolt on. If not, you’ll need a seatpost rack or clamp kit.
-
Measure wheel / fender clearance: Make sure the rack arms will clear fenders and not rub the tire.
-
Match weight capacity to needs: Decide how much you’ll typically carry (20–50 lb is common). See realistic ranges below.
-
Consider bike type: E-bikes and step-through frames may need special brackets or reinforced racks.
-
Material & weight trade-off: Heavier steel racks can be stronger for lots of cargo but add weight; aluminum is lighter and resists rust but may flex more.
-
Attachment options: Some racks use three points, others four; additional support means better stability.
Measure & Match: Frame, Mounts, and Wheel Size
Take a tape measure: seatstay-to-axle distance, tire clearance, and fender presence. Match those measurements to the rack’s adjustable arms. If your bike uses thru-axles, check for thru-axle adapter compatibility.
Material & Build: Steel vs. Aluminum vs. Alloy
-
Steel: Strong, durable, slightly heavier; good for heavy loads.
-
Aluminum: Lighter, rust-resistant; great for commuters wanting lower weight.
-
Alloy / chromoly: A balance for higher-end racks — strong with decent weight.
Load Capacity & Safety: Real limits and tips
Racks are commonly rated between 20–60+ lbs depending on design. REI notes typical rear racks carry 20–50 lb, with some heavy-duty models reaching 80 lb. Choose a rack rated above what you plan to carry; that margin improves stability and longevity.
Practical tips:
-
Keep heavy items low and centered over the axle.
-
Use panniers on both sides for balanced loads.
-
Avoid top-heavy stacking that raises the center of gravity — it’ll make steering twitchy.
-
Check your bike’s max total load (bike + rider + cargo) if the manufacturer provides it, particularly on e-bikes.
Installation Essentials
You don’t need to be a mechanic, but you’ll need basic tools: allen keys, open-end wrenches, torque wrench (recommended), and possibly extra mounting hardware. Typical steps:
-
Loosely attach the lower mounts to the rear dropout eyelets.
-
Align the upper struts to the seatstay eyelets (or clamp around seatpost if your frame has none).
-
Adjust for clearance, then tighten gradually. Don’t overtighten bolts — follow torque guidance if provided. Park Tool guides and general torque tables are useful.
If you’re not confident, a local bike shop can fit the rack in 15–30 minutes and ensure safe torques and alignment.
Using a Rear Rack on an E-Bike: What’s different
E-bikes can place more stress on racks (heavier bike, higher speeds, motor torque). Consider:
-
Reinforced racks or those specifically rated for e-bike loads.
-
Battery placement: If your battery is rear-mounted, ensure the rack won’t block access or rest on the battery.
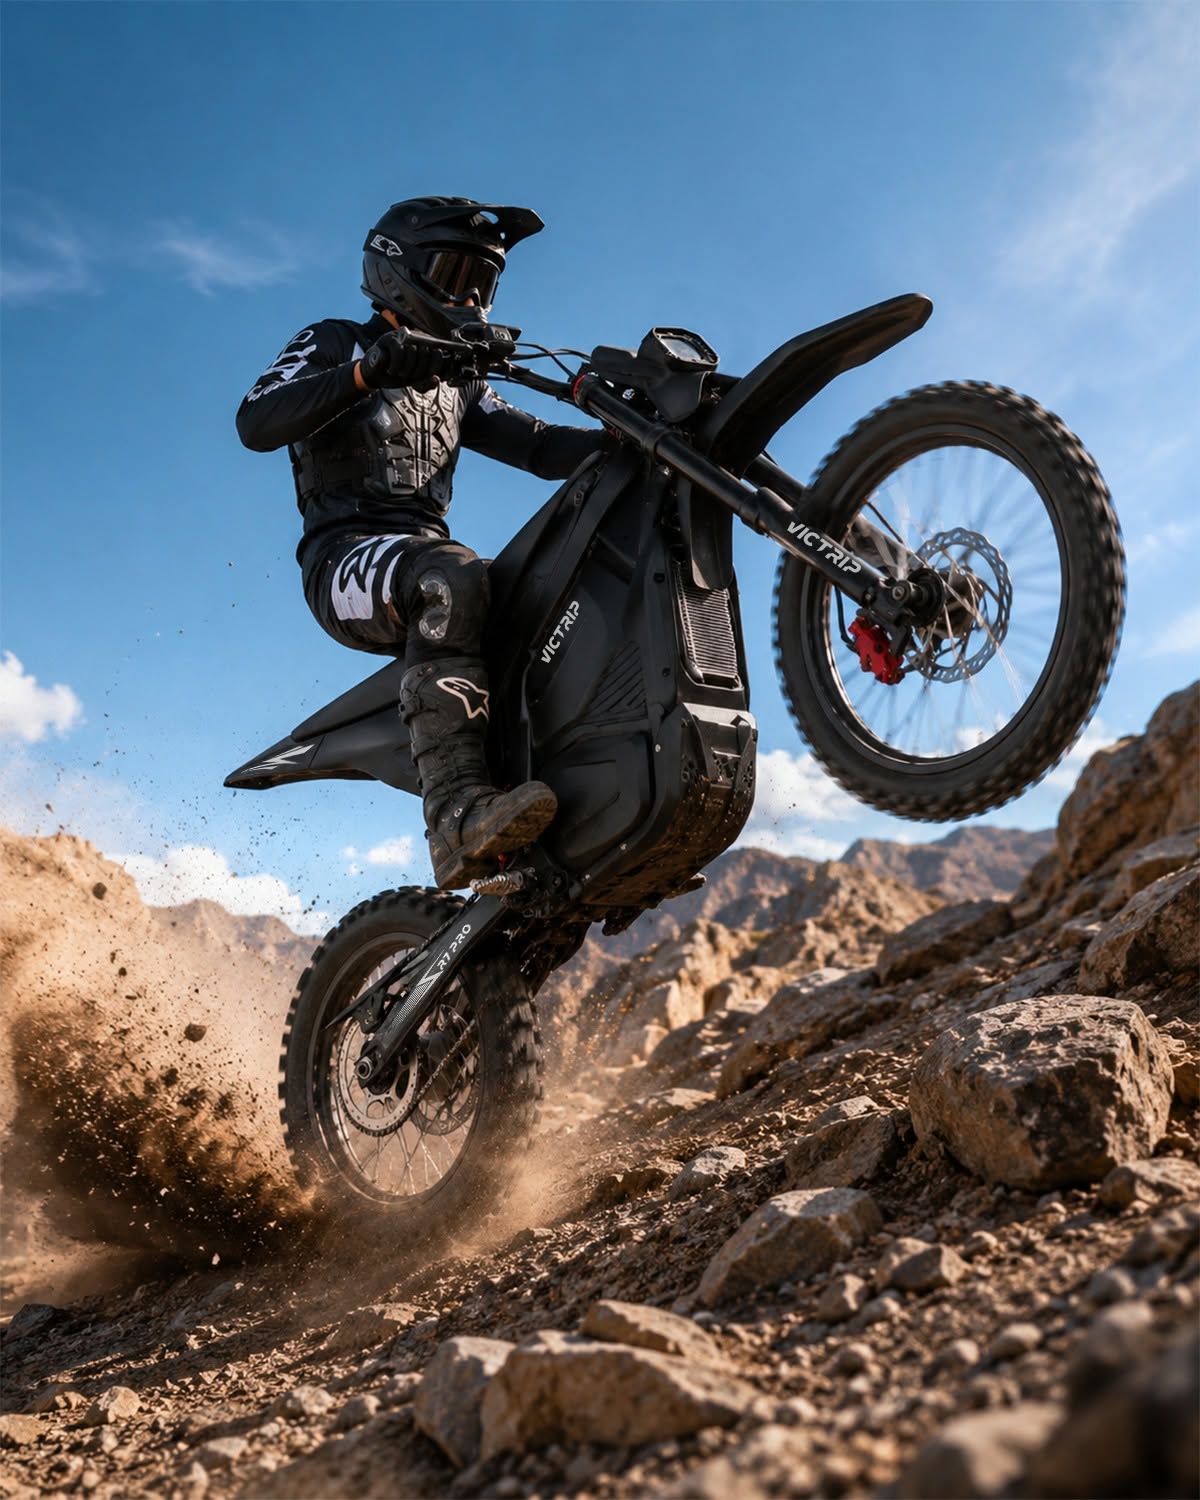
-
Compatibility: Some accessories (like the VICTRIP rear rack & basket) are designed for specific e-bike models — the VICTRIP unit is compatible with R6 and R6 Pro models only.
Maintenance and Seasonal Care
-
Inspect mounting bolts monthly for tightness — vibration loosens hardware over time.
-
Clean and dry the rack after wet rides; touch up chips to prevent rust (steel racks).
-
Replace any bent struts; small bends can lead to larger failures if ignored.
-
Check pannier hooks and straps for wear.
Quick Comparison: Popular rack styles & costs
| Style | Typical Weight Capacity | Typical Price Range |
|---|---|---|
| Lightweight trunk rack | 10–25 lb | $30–$70 |
| Platform rack (commuter) | 20–55 lb | $50–$150 |
| Heavy-duty touring rack | 40–80+ lb | $100–$250 |
| Basket-integrated rack | 20–40 lb | $60–$200 |
Product listings show many common racks rated in the 33–57 lb range for daily commuting.
Installation Walkthrough — Step-by-step
This walkthrough applies to most bolt-on rear racks:
-
Prep: Gather tools: 4mm/5mm allen keys, 10mm wrench, torque wrench (if available).
-
Lower mounts: Bolt bottom rack tabs to dropout eyelets first, finger-tight.
-
Upper struts: Attach to seatstay eyelets; if no eyelets, use included clamps or a seatpost-clamp kit. Don’t fully tighten yet.
-
Align: Slide rack left-right to center over wheel; check fender and tire clearance.
-
Tighten: Gradually tighten all bolts two turns at a time to ensure even seating. Use torque specs when available.
-
Test load: Add ~10–15 lb and test-ride carefully — watch for sway or rubbing. Adjust as needed.
Common gotcha: if your bike has disc brakes with wide calipers or non-standard fenders, make sure the rack arms won’t interfere with brake hardware.
Common Mistakes & Troubleshooting
-
Overloading one side: Use symmetric panniers; unbalanced loads are unstable.
-
Assuming universal fit: Not all racks fit all frames — check clearance, eyelets, and thru-axle needs.
-
Loose hardware: Vibration loosens bolts — recheck after first 20 miles.
-
Ignoring e-bike specifics: Heavier e-bikes need reinforced racks — don't scrimp here.
-
Mounting pantries too high: Keep heavy items low and close to the axle.
Real-world Use Cases & Rider Tips
-
Daily commuter: A slim platform rack with matching panniers keeps work clothes wrinkle-free.
-
Groceries: Basket-integrated racks make single-drop grocery runs fast and stable.
-
Weekend jaunt / light touring: Heavy-duty rack + pannier combo, limit top load to ~10% of rider weight.
-
Delivery / cargo runs: Use reinforced racks with extra tie-down points and consider a cargo trunk bag.
Conclusion
A rear rack is among the best value upgrades for any cyclist who carries items regularly. Choose a rack matched to your frame, weight needs, and bike type (especially for e-bikes). If you’re unsure about fit, your local bike mechanic can help fast — and that small investment ensures safety and longevity.
FAQs
How much weight can I actually carry on a rear rack?
Most commuter racks are rated for 20–55 lb; heavy-duty touring racks reach 60–80 lb. Always choose a rack rated above your expected load and balance weight across both panniers when possible.
Are steel racks better than aluminum?
They trade off. Steel is tougher and often better for heavy loads; aluminum is lighter and rust-resistant. Pick based on the loads you’ll carry and whether weight saving matters more than raw strength.
Can I use a rear rack on an e-bike?
Yes — but prefer racks rated or reinforced for e-bikes. Check battery placement so the rack or basket won’t interfere. The VICTRIP Rear Cargo Rack & Basket is built specifically for certain VICTRIP models (R6/R6 Pro).
How do I prevent the rack from loosening over time?
Use medium-strength threadlocker where appropriate, check bolts after the first 20–50 miles, and recheck monthly for commuter use. Don’t overtighten beyond manufacturer torque specs.


Share:
10 Reasons the VICTRIP Ebike Is Worth Every Penny
How Teens Can Personalize Their Ebikes?